Create Web Server
A Little About Express
Let’s start with Express. Express can be installed through npm. It is a simple way to build a web server using nodejs. It’s currently the most popular framework for making a web server using NodeJS.
First, you need to understand Express.
You can learn more about express here:
Set-up
You are going to need a folder for your projects. We recommend the name “node” because it’s short and intuitive.

In WebStorm or your favorite IDE, start a new project and name it “(your last name)-express-web-server”. For example, I would name it “fischer-express-web-server”. You can also do this in the command line if you wish by going to the node directory and using the command “mkdir”.

In that project, make a file named index.js.
You can do this by using the command “touch” (this command only works in Linux or Mac OS).

You will write your code in your index.js file you just made.
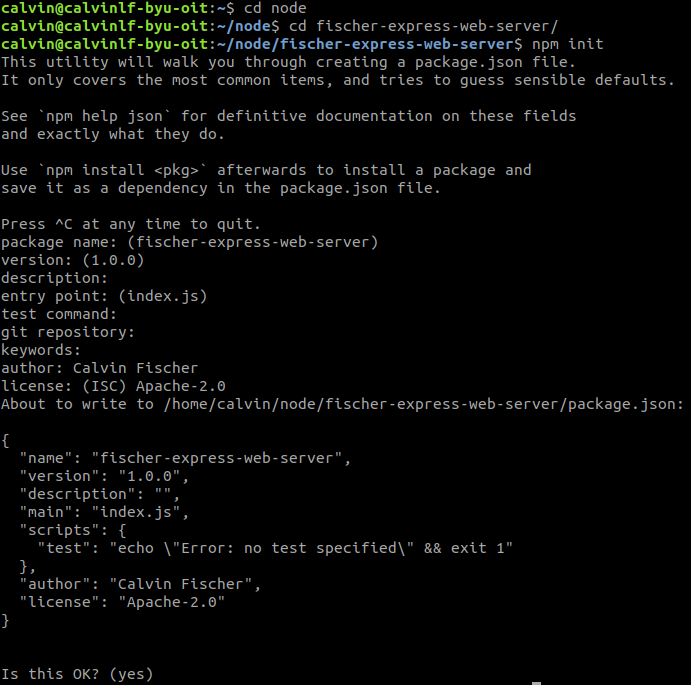
Now you are going to need to install express. If you haven’t opened the terminal, do so now and navigate to your project. Type: “npm init”. It will ask you some questions. For the most part, just use the default by pressing “enter”. You can put your name as the author and “Apache-2.0” as license. Here is an example:
Then you can install express by running the command: “npm install express” in your terminal. It should look something like this:

Sweet! You are now ready to write the program!
Write the Program
Open up index.js. You are going to need the functions that express provides, so let’s start out by requiring express.

Let’s make a variable that is able to access the functions we want. And let’s call it “app”.

Now we are ready to start doing things. Let’s make it so that the program can hear incoming requests. We do this with the “listen” function, which will take a port number which will be the channel on which something can call the program. Let’s have app listen on port 3000.

Yay, it can listen! You can even try running it if you want (use the command “node index.js”). However, you’ll notice you have two problems: 1) You have no idea if it’s running and 2) it won’t do anything. Let’s fix the first one by passing in a function that tells us it is working:

Try it out!
If you don’t see what’s below, go back and make sure you copied the code correctly (small syntax errors make a huge difference). If it still doesn’t work, ask someone for help!

If you see “Listening on port 3000”, congratulations! Your server is working! You can use Ctrl+C to stop running the server. Now instead of just listening on the port we can make it respond when we send it a request.
Let’s make it so it will respond to a GET call. The “get” function in express allows us to do this, we just need to pass it a path and a function to run which looks like this:

The “req”, or request, is information about what goes in and “res”, or response, is about what comes out.
Let’s test it! Run the program from the command line again. Then, open up a new tab in your browser and type “localhost:3000/hello” as the URL.
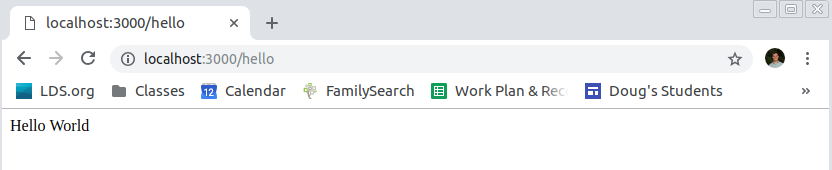
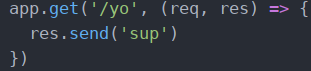
Isn’t this pretty cool? The browser calls a GET function and your server returns a cheerful hello. You can use different paths to send different things if you want. For example, you could do something like this:
But, what if you want it to do something regardless of what is sent? For example, what if you want to log every time a call is made to the server? The “use” function gets called every time that any sort of call is made, and if you log information from that call to the console. This kind of function is called middleware. There is a good definition of middleware at: http://expressjs.com/en/guide/using-middleware.html.

The “next” calls whatever function comes next.
Try it out in your browser again! Here is an example of what happens when a few calls are made:

The call to the /favicon.ico path is from my browser calling to see if my server had an icon to display on the tab.
It’s almost ready but before we push it to GitHub we are going to want to add a .gitignore file. It tells GitHub to ignore certain files. This will help your code have less problems when it deployed.
Make a new file called “.gitignore”. Inside it, put the following:
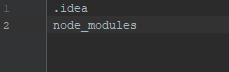
The .idea file is generated by Webstorm and is not needed for your file to work. The node_modules file will be rebuilt when you deploy your server on the cloud.
Now that everything seems to work, let’s push it to GitHub. You should already have everything set up: GitHub
To start, we are going to need to make a local repository. This is done like this:
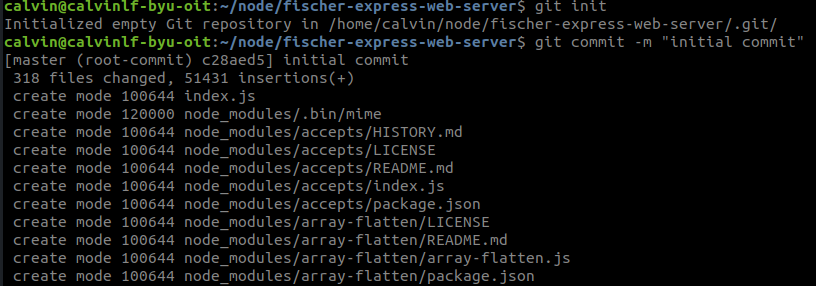
Then, go to GitHub (https://github.com/) and click the green New Repository button. Make the owner BYU-OIT and name it the same as your project.
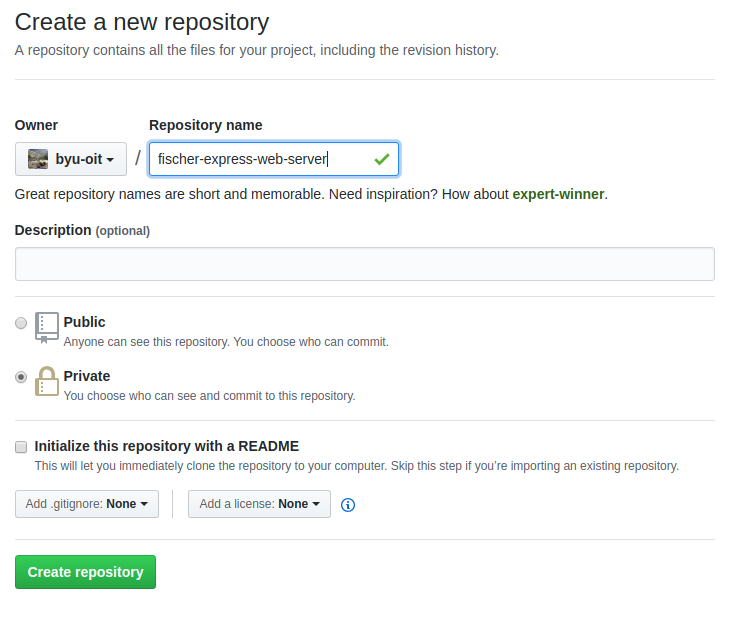
Click Create Repository and you should see something like this:
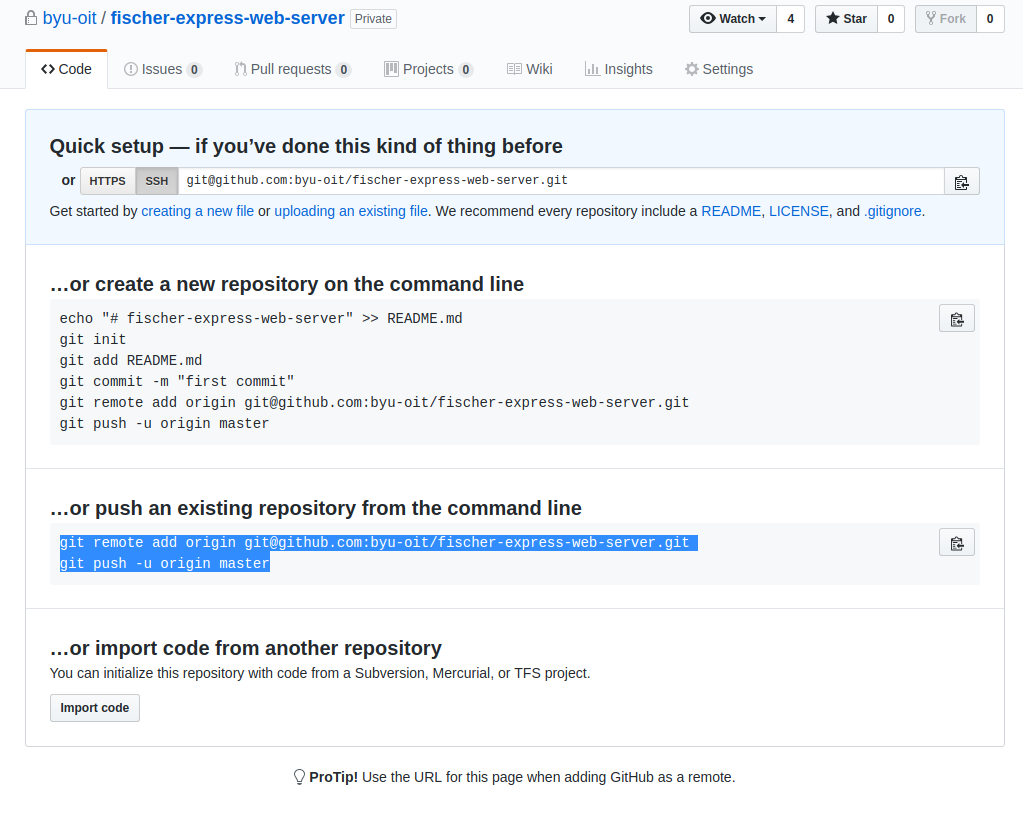
You are going to push an existing repository from the command line. Use the given commands to do so.
Mine look like these (but yours will be different):

If you refresh the GitHub page you should get something like:
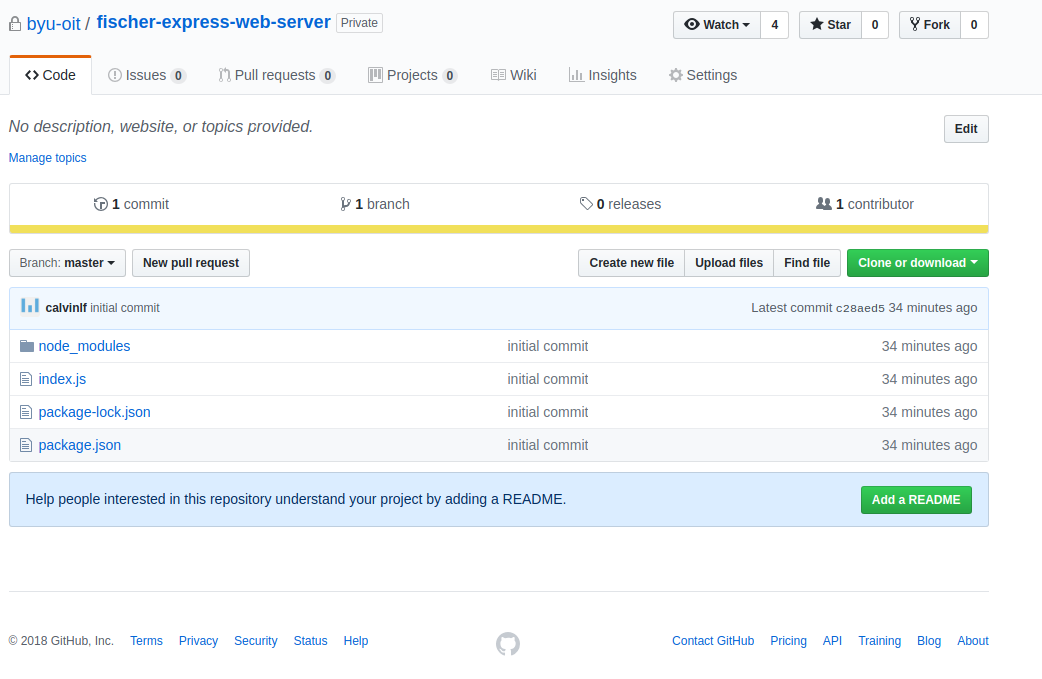
Hopefully your .gitignore file is in there as well!
Wonderful, you are ready to move on to bigger and better things!