Make Requests
Postman
You should remember a little about Postman: Postman
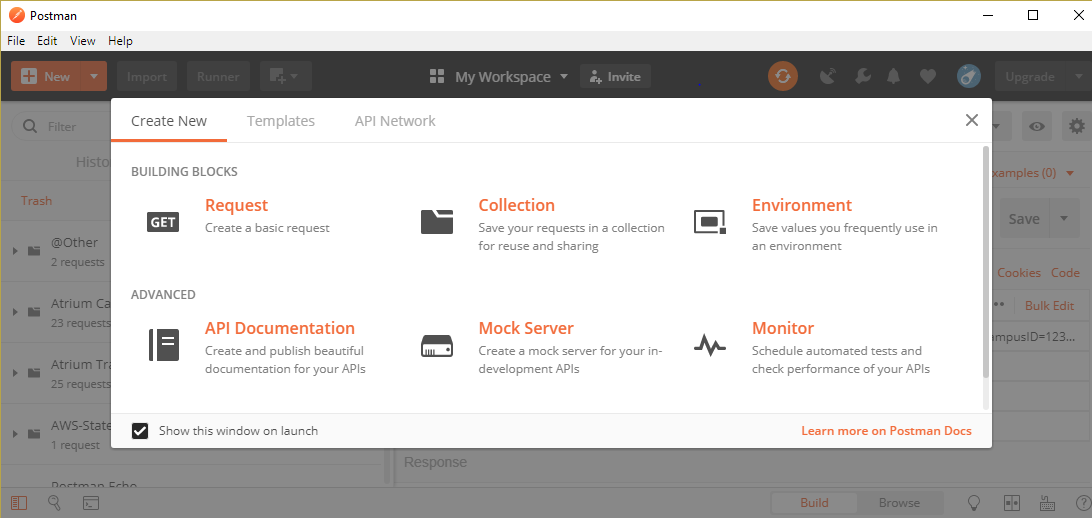
Now we are going to use it. Open it up and you should see something like this (if not, just click the new button in the upper-left-hand corner):
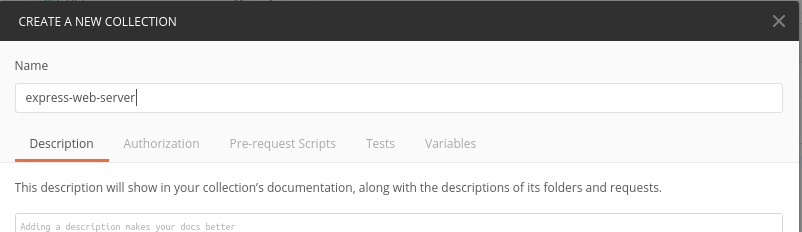
Click the Collection button to create a new collection and name it “express-web-server” as the collection or folder:
Then click create. Click the new button in the top-left corner and create a request named “hello” and select “express-web-server” as the collection or folder:
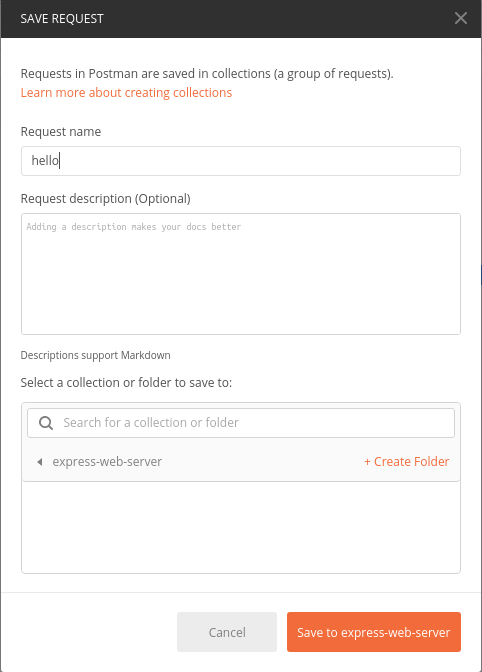
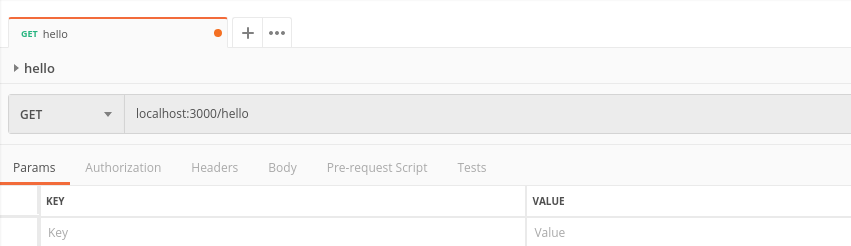
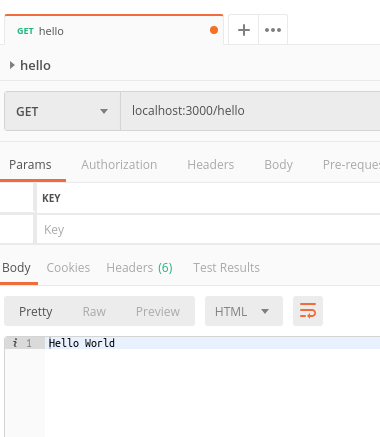
Great! Go on and click “Save to express-web-server.” So that will be the thing you use to test how your server responds. Let’s tell Postman where it can find your server. Enter “localhost:3000/hello” in the Enter request URL. Then push Save.
Now you are ready to test your code using Postman. Use the terminal to get your code running.

Press Send to send the call to test your code. You should get something like this:
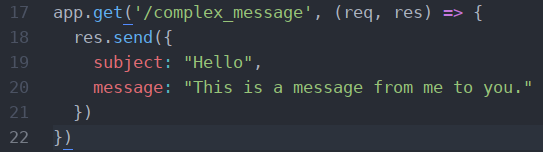
Now this doesn’t seem super useful, but let’s make a more complicated function. In your “index.js” file, add a function where you send an object instead of a string like this:
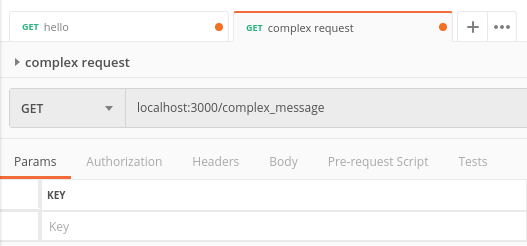
We are going to want to test this, so make a new request the same way we did last time. Start by clicking the New button in the corner and then Request. You can name this request something like “complex message”. For the URL, put “localhost:3000/complex_message” so the path calls the function you just made. So far, this should seem pretty much the same. Let’s add some tests.
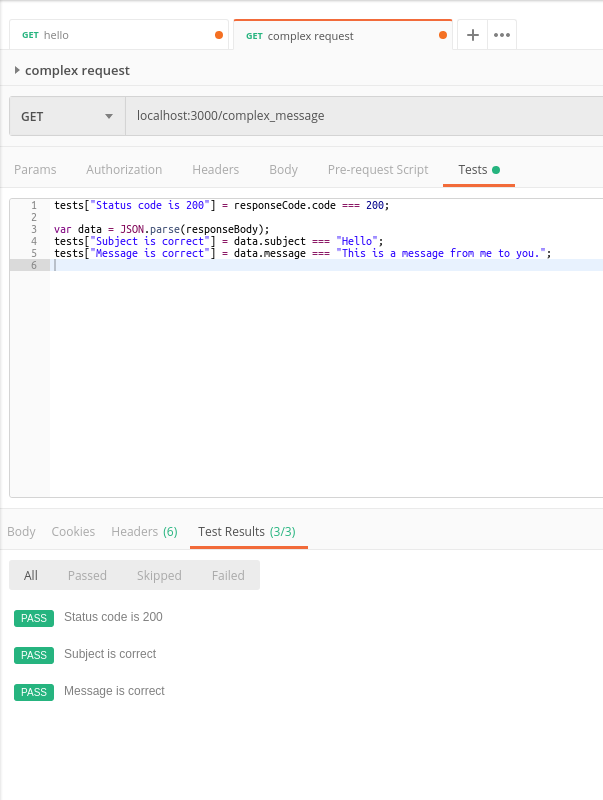
To the right in the picture shown above is a Tests button. Click on it. In Postman, the test scripts are written in JavaScript and are run after the response is received. Write this example test script:
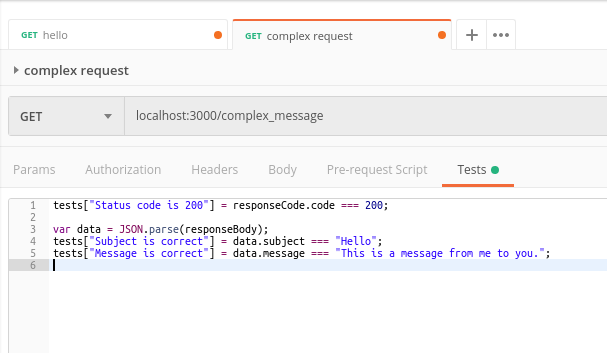
Let’s take a minute to understand what this means. The status code refers to the HTTP status code that the server returns. There a lot of different codes you can receive (there’s a good list of them here: https://httpstatuses.com/. We want to receive a 200 status code, which tells us that things are OK. That’s the first part. Line three makes it so the other tests can pull information out of the response. Lines four and five make sure that the information received is correct. Run “node index.js” in the terminal. Click Send and see if it works. If it does, you should get something like this.
Now let’s take things a bit further and make a request for PUT. First, we are going to need to make something to modify:

Then a way to access that number:

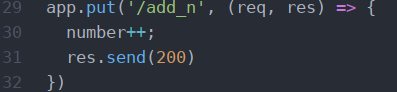
And a way to use a PUT call to modify that number:
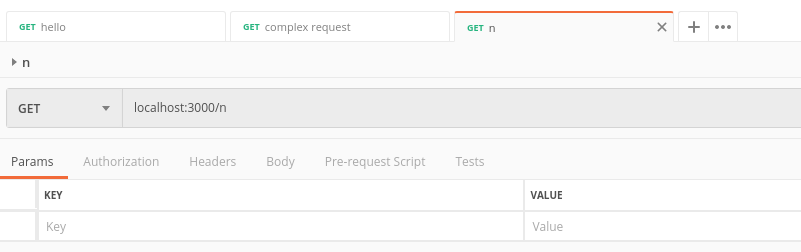
Now we are ready to use Postman. First, make a GET request the same way you did earlier. Click New, then Request, then name it “n” and change the URL to “localhost:3000/n”. Don’t forget to save. It should look like this:
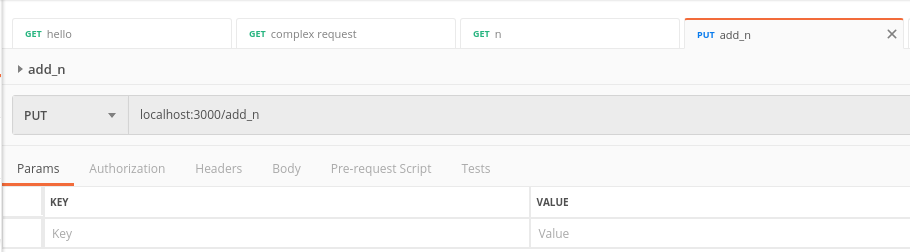
You start a PUT request the same way. Click New, then Request, then name it “add_n” and change the URL to “localhost:3000/add_n”. Then click the button that says GET right next to the URL and change it to PUT.
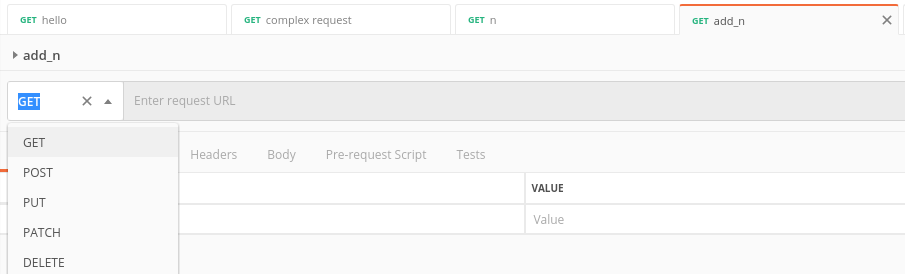
Don’t forget to save. It should look like this:
Make sure to use the terminal to get your code running. Press SEND a few times to send the PUT request and then send the GET request to see if it worked. Here’s what mine looks like:
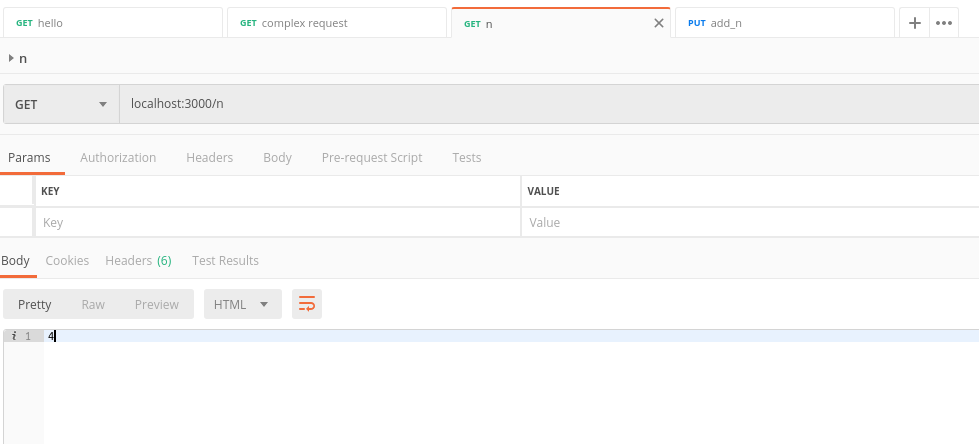
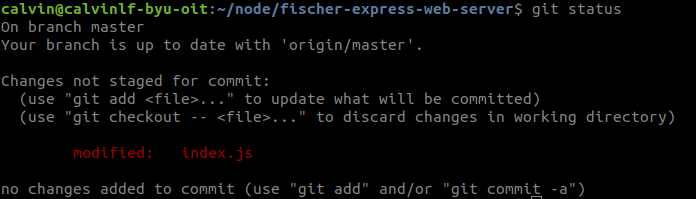
Looks good! The number that returns correlates to how many times you pressed SEND. Now you should push those changes that you have made to GitHub. Start by entering “git status” to see what the current status of your repository is. It should look a bit like this:
Let’s add and then commit our files:

Then push:
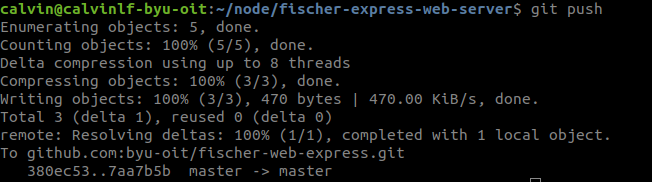
You can use the command “git status” to check everything, but you should be good!
Through JavaScript
Postman is great for testing your web server, but what if we actually want to use it? Let’s write a program that uses the web server you just made. We are going to use the npm module request. You can learn more about it here: ( https://www.npmjs.com/package/request ).
In Webstorm or your favorite IDE, start a new project and name it “(your last name)-request”. For example, I would name it “fischer-request”. You can also do this in the command line if you wish by going to the node directory and using the command “mkdir”.
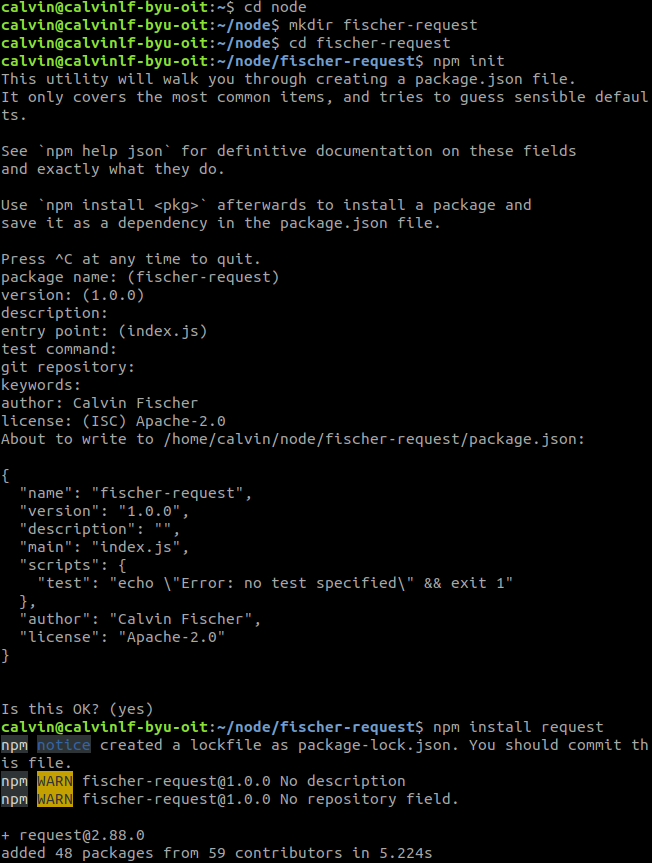
Now you are going to need to install request. If you haven’t opened the terminal, please do so now and navigate to your project, then run “npm init”. It will ask you some questions and for the most part, just use the default by pressing “enter”. You can put you name as the author and “Apache-2.0” as license.
Now you can install request, Run the command “npm install request”.
Now you can make a file in this new “[last-name]-request” project titled “index.js” and start programming!
Here is how you send a simple GET request-
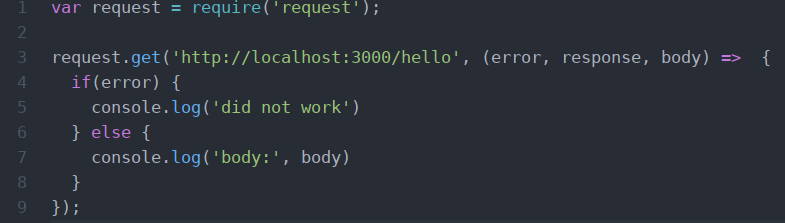
Start your server up and then try and send requests using JavaScript. I did it once with the server not running and once with the server running in a different terminal.

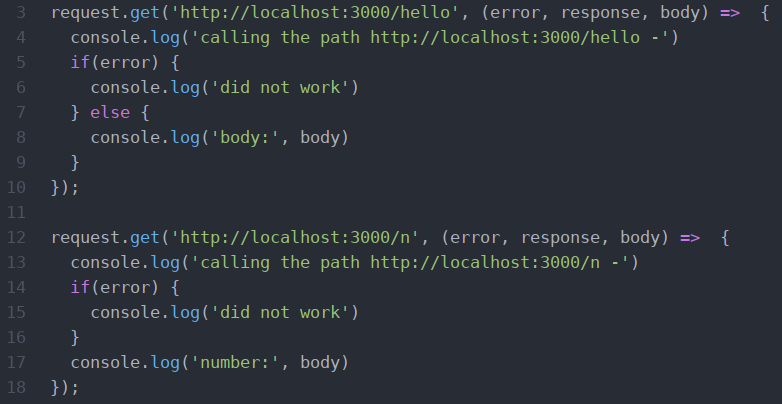
It’s nice to see that the error checking worked. Now let’s try something a bit more complex. We are going to make GET and PUT calls.
Let’s make some changes to the first function to tell things apart. Then we are going to make a call to find out what the number is.
Then make a simple PUT request followed by another GET request to make sure it worked.
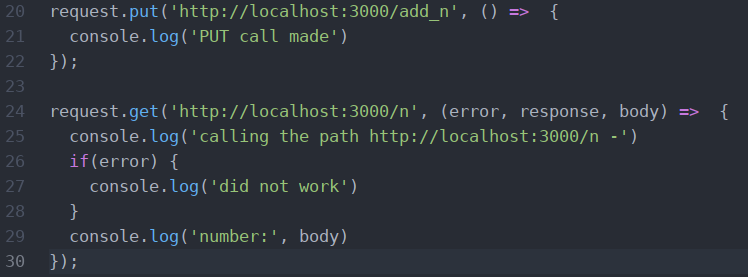
Let’s test it!
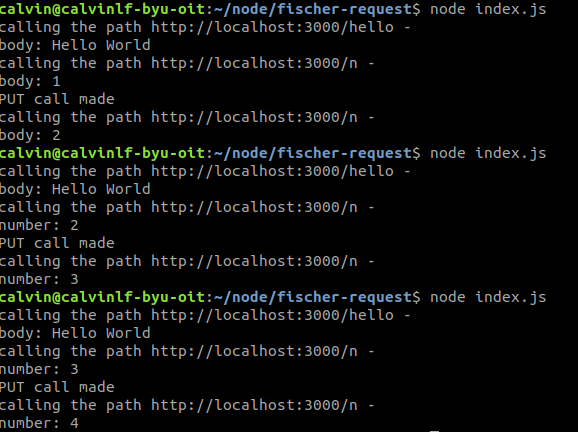
If your screen looks something like this, then great! This will be really useful when you need to call another web server in a program.
If you don’t see something similar to the picture above, go back through and make sure you didn’t make a syntax error (typo when you were copying). If you can’t find an error, go ask someone for help!