Swagger/Open API
REST principles
We are almost ready to start making a more complex API, but first we need to take a moment to talk about REST. You may remember a brief discussion about REST principles in the introduction: Introduction to Web Services and we’ve used GET and PUT methods. There are four basic type of functions that we use:
- GET method will return a resource representation
- PUT will modify the internal state of a resource
- POST is usually for adding a new resource
- DELETE is for removing a resource
If you still have questions, here is a pretty good article: ( https://spring.io/understanding/REST)
Introduction to Swagger / OpenAPI
You should be a little familiar with Swagger: Swagger/Open API
Swagger is a specification that lets you define what kind of requests your server will accept and how it will respond. Swagger is an open API Specification for describing, producing, consuming and visualizing web services. A Swagger document allows you to use tools to generate code, document, and test your API. Here is a simple article on what swagger can do: https://swagger.io/blog/api-development/getting-started-with-swagger-i-what-is-swagger/
Planning the API
Before we can start writing the Swagger document, we are going to need to know what kind of API we want to make. We are going to make a Favorite Color API that connects to a database of favorite colors. What kind of data will we store in the database?
| Data | Example | Description |
|---|---|---|
| Name | Cosmo Cougar | The person’s name |
| BYU ID | 012345678 | The person’s BYU Id |
| Favorite Color | Blue | Their favorite color |
| Date Created | 2018-12-19T13:40:51.000Z | When the entry was created |
What would this API need to be able to do? Here are some ideas:
- tell what a person’s favorite color is
- give a person a favorite color
- change a person’s favorite color
- delete a person’s favorite color
Let’s translate that to REST methods:
- GET - returns a favorite color
- POST - add a new person with a favorite color to the database
- PUT - modify an existing favorite color
- DELETE - remove a person and their favorite color from the database
Now that we have an idea of what we are going to be making, let’s make a swagger document to define what all that is going to look like.
###Create Swagger Document
In a web browser go to https://swagger.io/

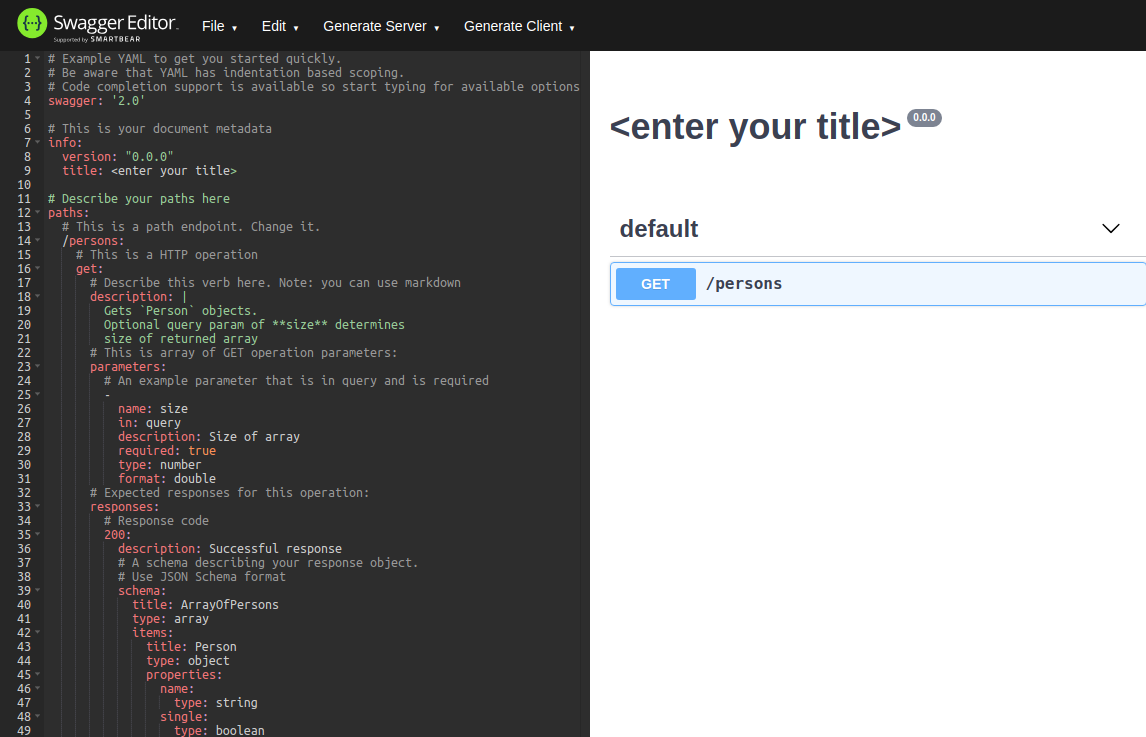
Go to the Swagger Editor.
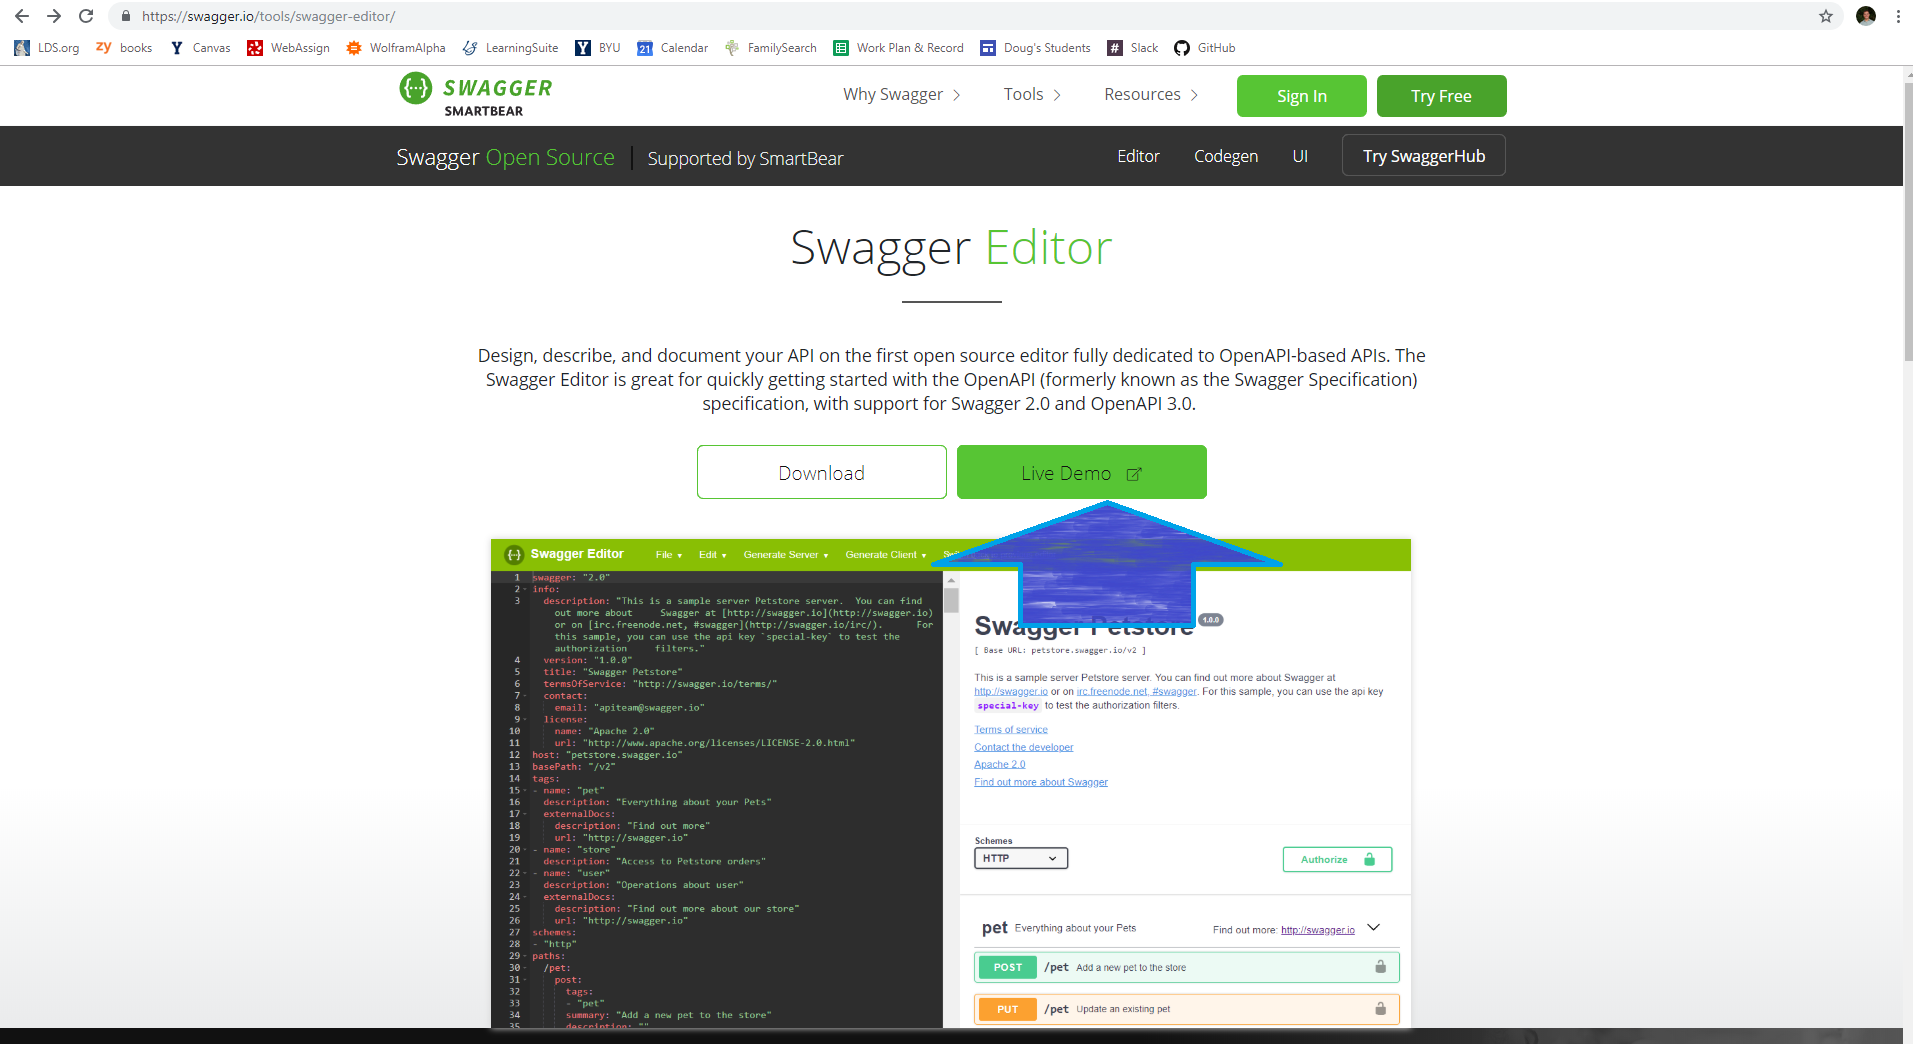
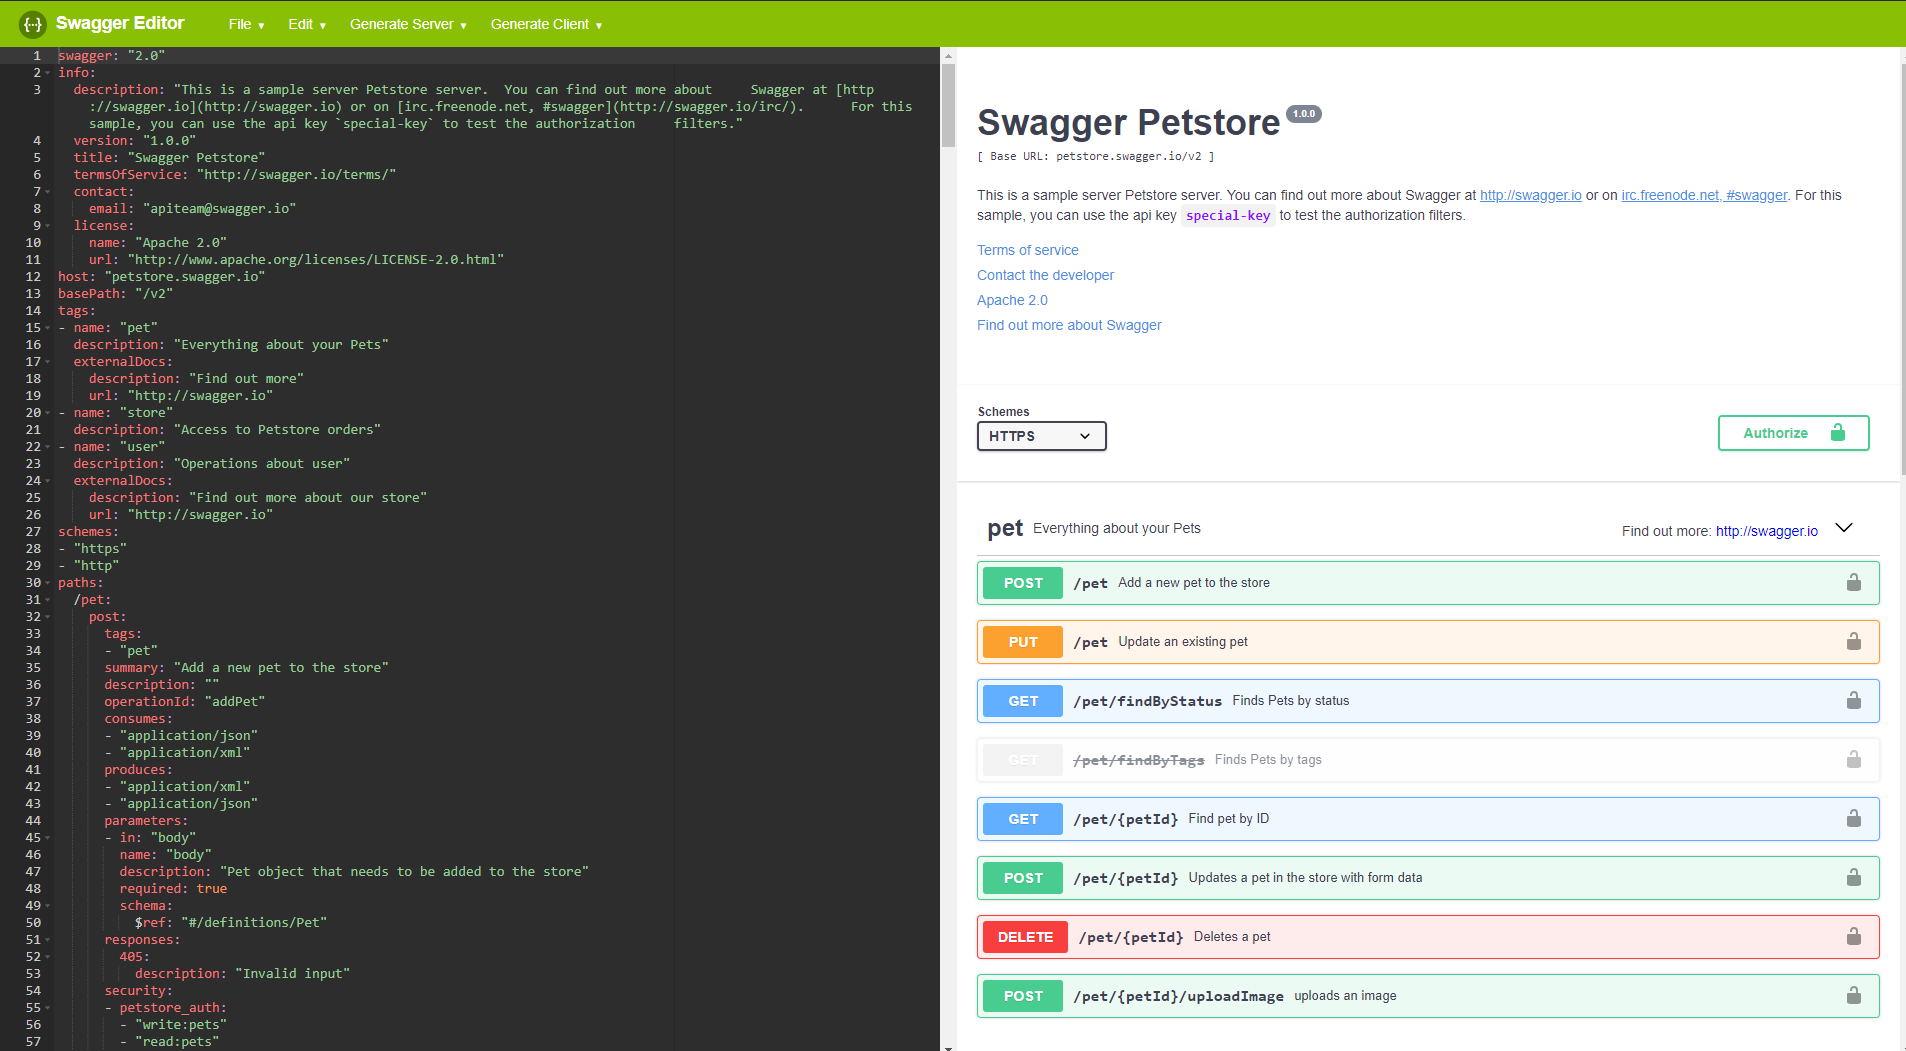
Click on the live demo. You should see something like this:
Then clear the editor by going to the file and clicking Clear editor
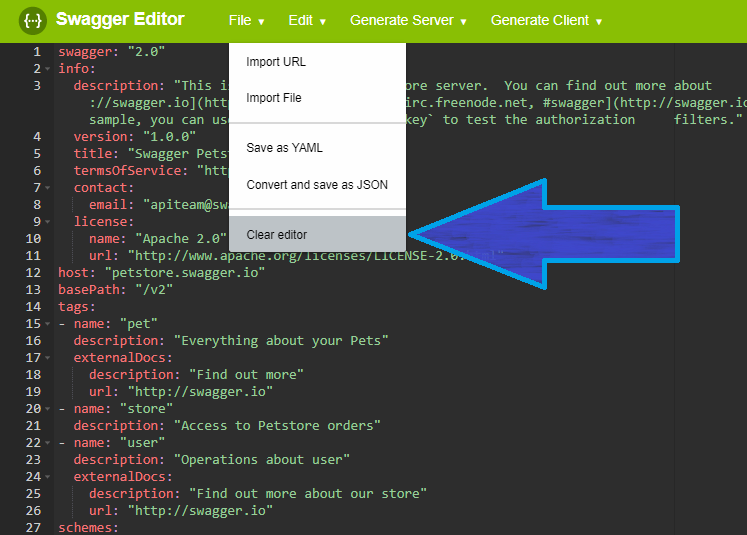
You should see something like this:

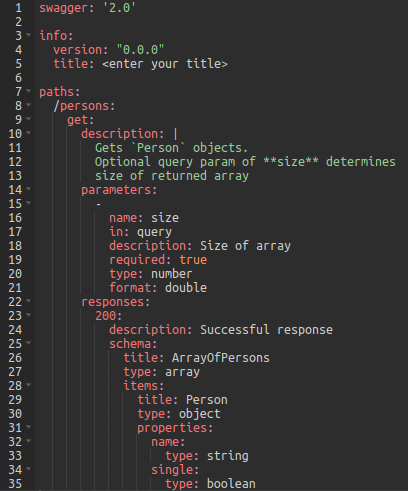
Copy and paste this into the currently empty Swagger Editor:
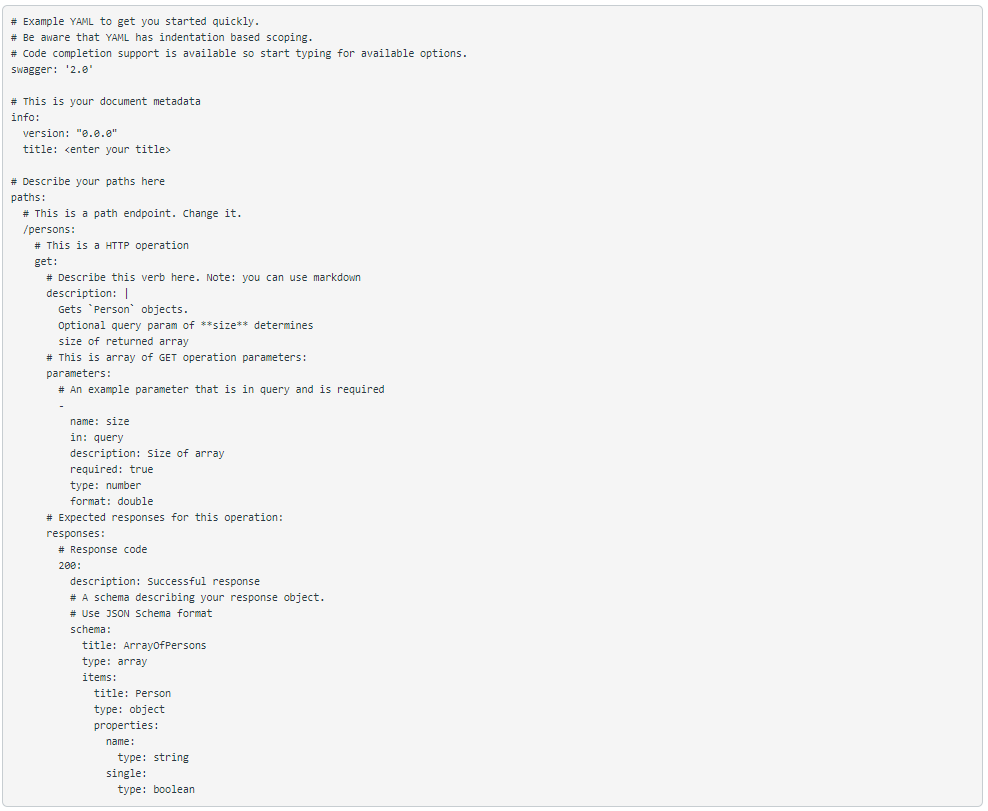
You should see something like this:
Now we are ready to start making our documentation. Let’s start be removing any lines that starts with a “#”.
Change the version to “1.0.0” and the title to “(first and last name)-favorite-color”

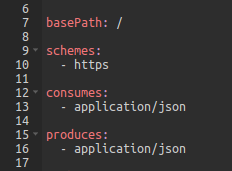
Add a “basePath”, “schemes”, “consumes”, and “produces” section.
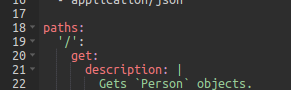
Replace the “/persons” path with “ ‘/’ “. This is the base path.
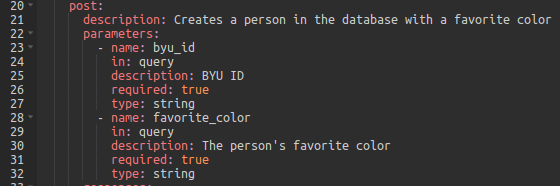
We are going to write the documentation for the POST method first. Change “get” to “post” and change the description to something more appropriate.

The parameters section represents what the function is going to take in. To make a new person you will need their BYU ID and favorite color. Those will be sent in the request body, so it will be in the query.
Let’s think for a moment about what we want to return to the sender. They probably want to know that everything worked out and they might need the information of the person they created, so let’s plan to send that back too.
We are going to want to send the information of a person again, so let’s make a definition that we can use multiple times. It’ll look like this:
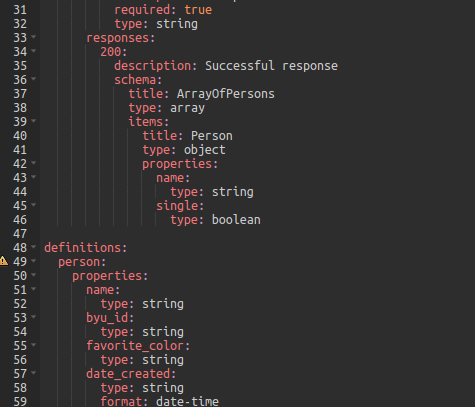
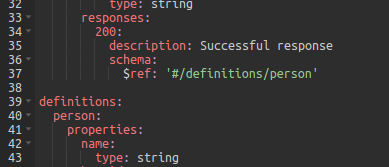
Now you are ready to make your responses. If everything works, it will send the person’s information at along with a response code of 200. Because you already wrote the ‘person’ definition, this is all you have to put in for a 200 response:
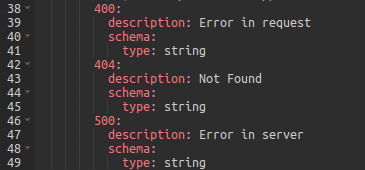
Let’s add in the other responses (400 for when there is an error in the request, 404 for when the person isn’t found and 500 for a server error):
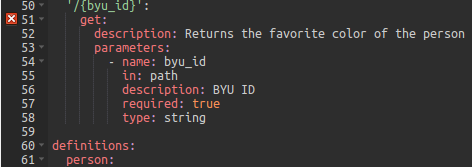
You are now done with the POST section. The rest of these (GET, DELETE, and PUT) will be on a different path, so we are going to need to start a new path (‘/{byu_id}’). This is because this path will have the BYU ID.
Start the GET section similar to the way you did the POST section.
You may get an error that will persist until the document understands that “byu_id” is a parameter in the path.
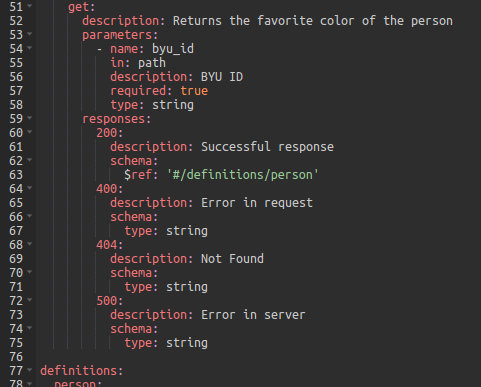
Now it’s upset that you have no responses, so add the responses. It makes it easy because you already have a definition for what a person is.
The DELETE method is similar but there are some important differences. The response will be that there is nothing left after we delete it so the method response will send 204 instead of 200.

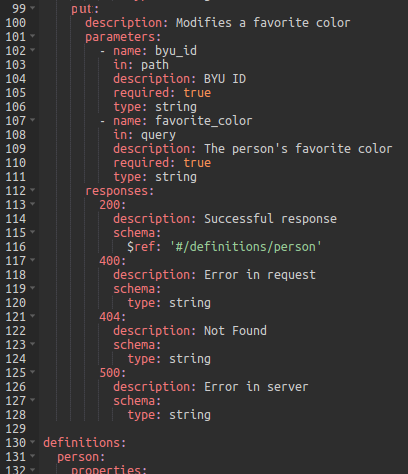
For PUT you will need to query for the favorite color.
Congratulations, your swagger document is complete!
It needs a home.
In your “node” file, start a new project called “(first and last name)-favorite-color”

Create a new file called “swagger.yml”. Copy and paste your document into it.
And now for the final act, let’s put it on GitHub! Initialize and commit your project:

Create a repository in GitHub by clicking the new button.
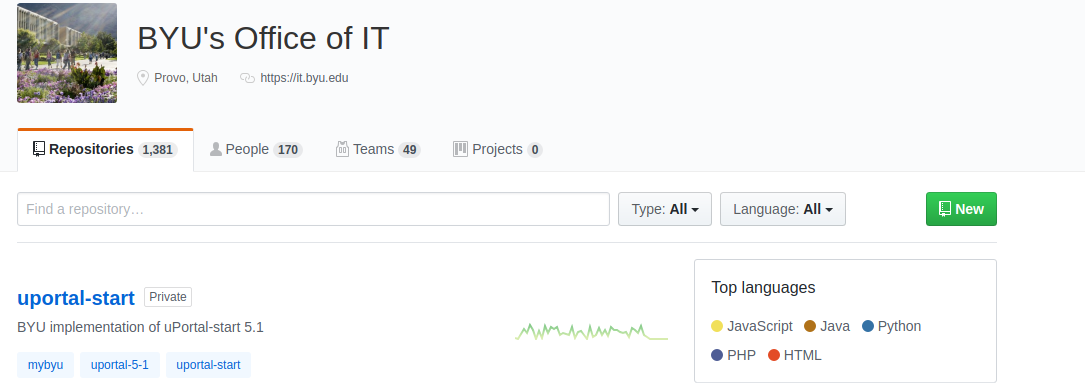
And start a new repository named “(first and last name)-favorite-color”. Make sure byu-oit is the owner.
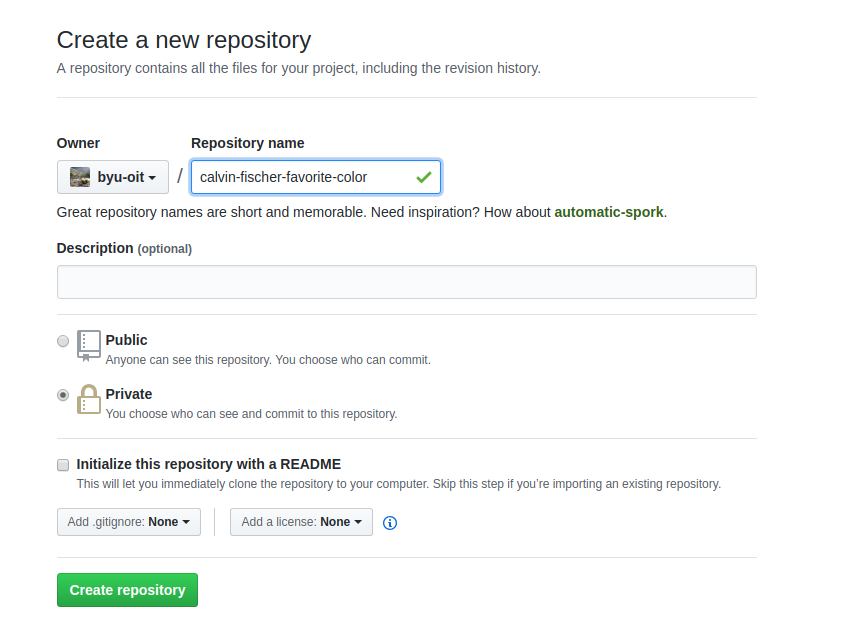
And then follow the steps.
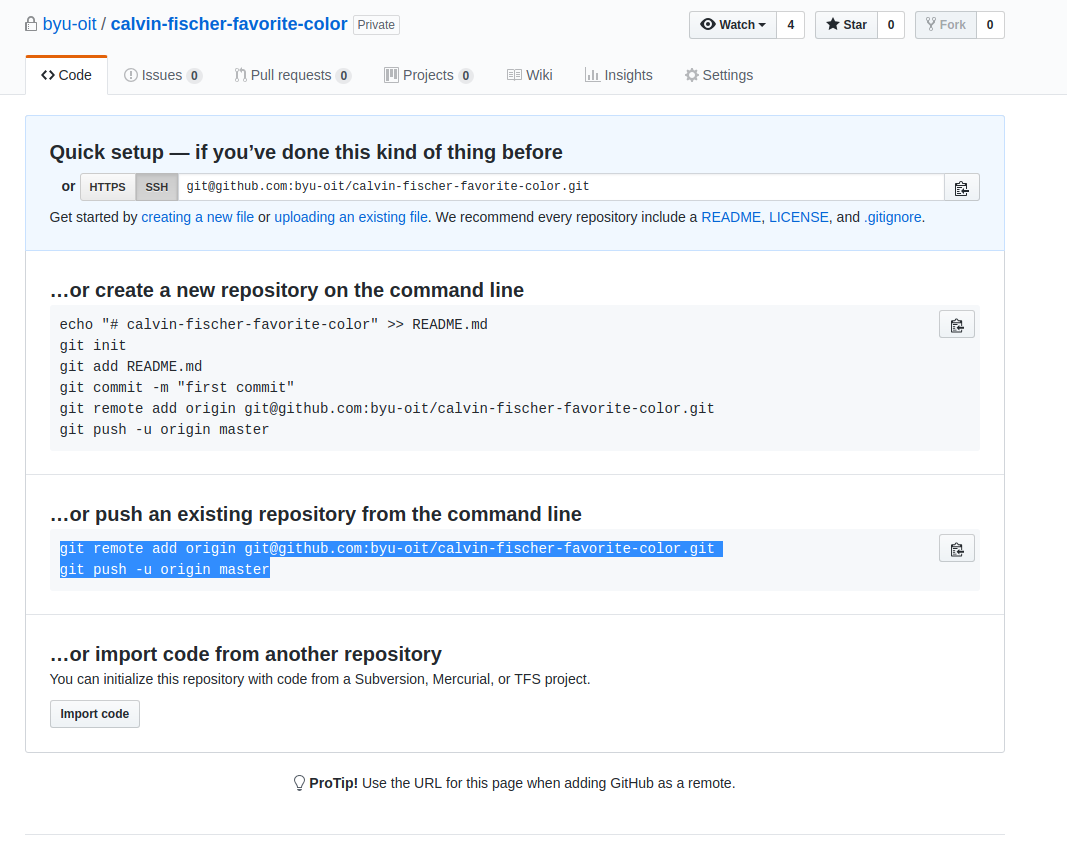
It should look like this:

Looks good! Well done!