Recorder on Docker in AWS
Now that all the code works, let’s move on to get it working all the way.
To run this in a Docker container and on AWS, there are some hoops we are going to need to jump through. Remember that library that the oracledb module needs to run? Well, to run on a Linux machine it needs a different library.
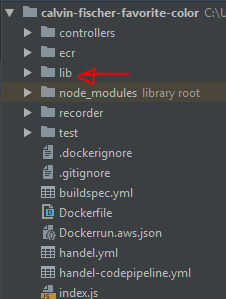
First, make a folder called lib to hold your library in your project. You can do this a lot of ways, I did it in WebStorm.
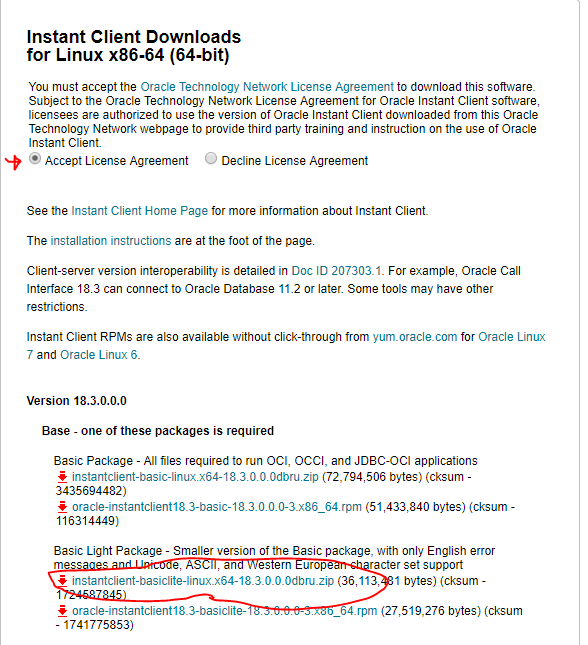
Let’s get the list of libraries and download the one for Linux.
Go to the website and click the link to Linux x86x-64.

Accept license agreement and download it!
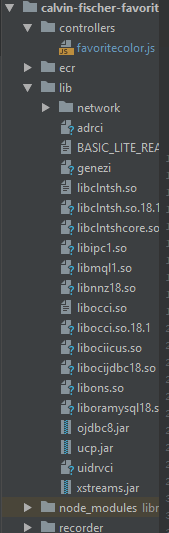
Once you have it, unzip it and put it’s contents in the “lib” folder that you made earlier.

When you are done, it should look something like this-
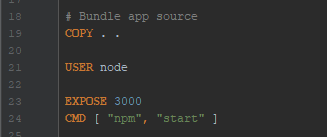
Now let’s make some changes to the Dockerfile.
Let’s first set up an environmental variable that points to the lib file-
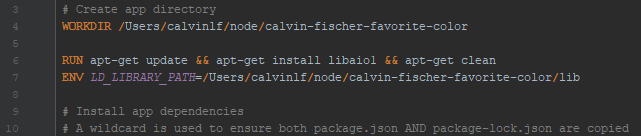
We are going to want it be under a different user later to do some stuff, so let’s tell it to change to the user “node”
Now let’s just make sure everything is set-up.
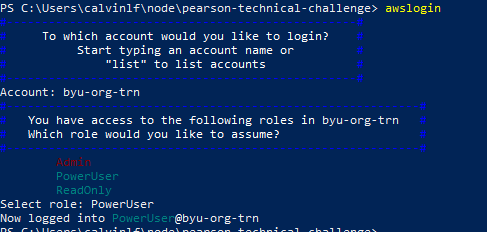
Make sure you are logged into AWS CLI-
Make sure you are connected to the VPN and that Docker is running.
Navigate to your project folder in a terminal and build your docker image using the command “docker build .”
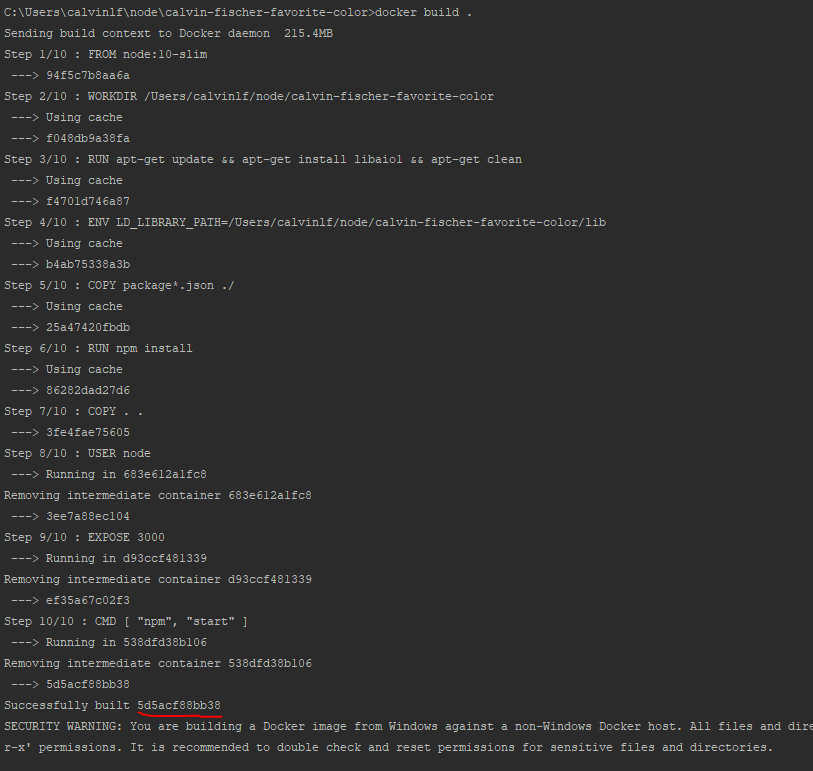
The random hexadecimal number underlined in the picture above is the id of your image. You will need it in the next step. Run this command-

It should open the working directory of your docker server.

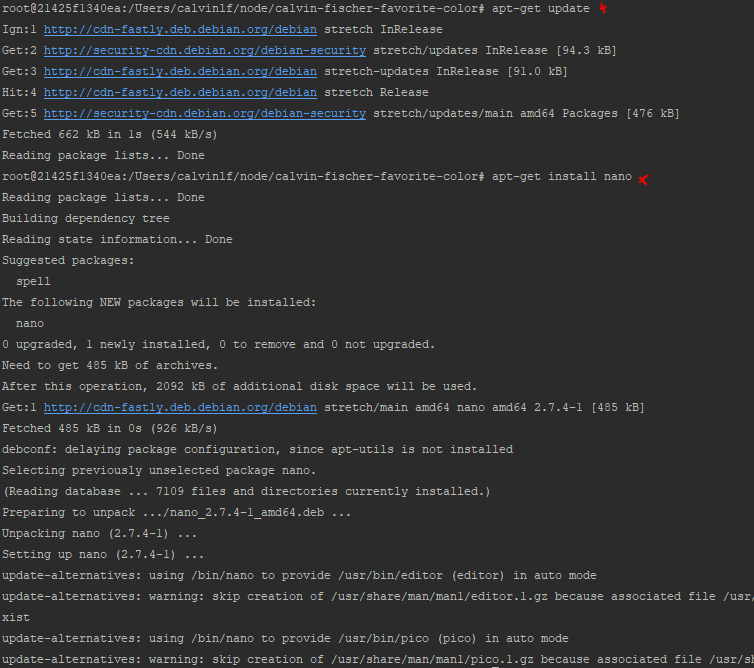
The reason we do this because it won’t run locally without AWS CLI credentials. This won’t be a problem on AWS, but it is here. Luckily there is a bit of a hack to get everything set up.
The first step is to install nano, a simple text editor. Run “apt-get update” and then “apt-get install nano”.
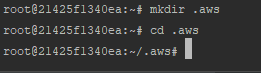
The command “cd” will take you to the root folder.

Use “mkdir .aws” and “cd .aws” to make a credentials folder for your AWS CLI credentials and go into it.
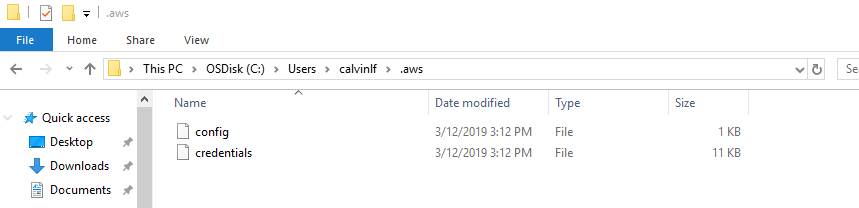
Now go find you AWS CLI credentials currently on your computer. It should be in your user folder. For example, mine is here- (C:\Users\calvinlf.aws) The file should look like this.
Open up the config file in notepad-
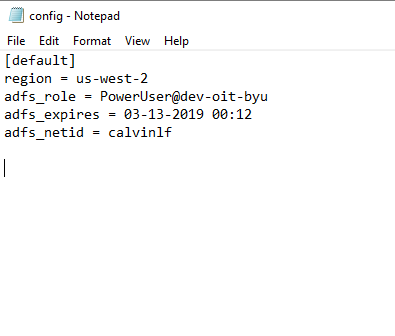
Then go back to the terminal and run the command “nano config” This will create a file.

Copy and paste from your local config file to the one open in nano.
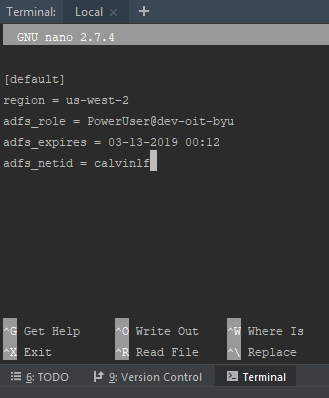
Press “Ctrl x” to exit and “y” to save it. Then press enter to confirm the name.
After you are done, run “nano credentials” and copy in the credentials file information.
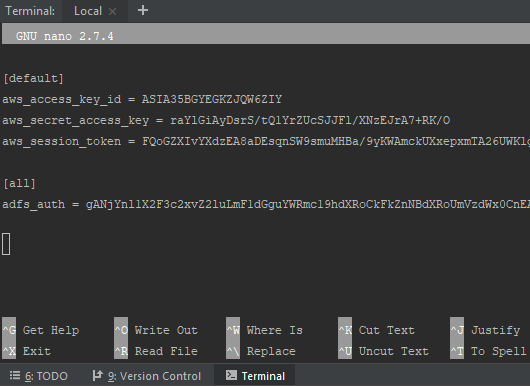
Now you have AWS CLI credentials!
Navigate back to your working directory.

Run “npm start”
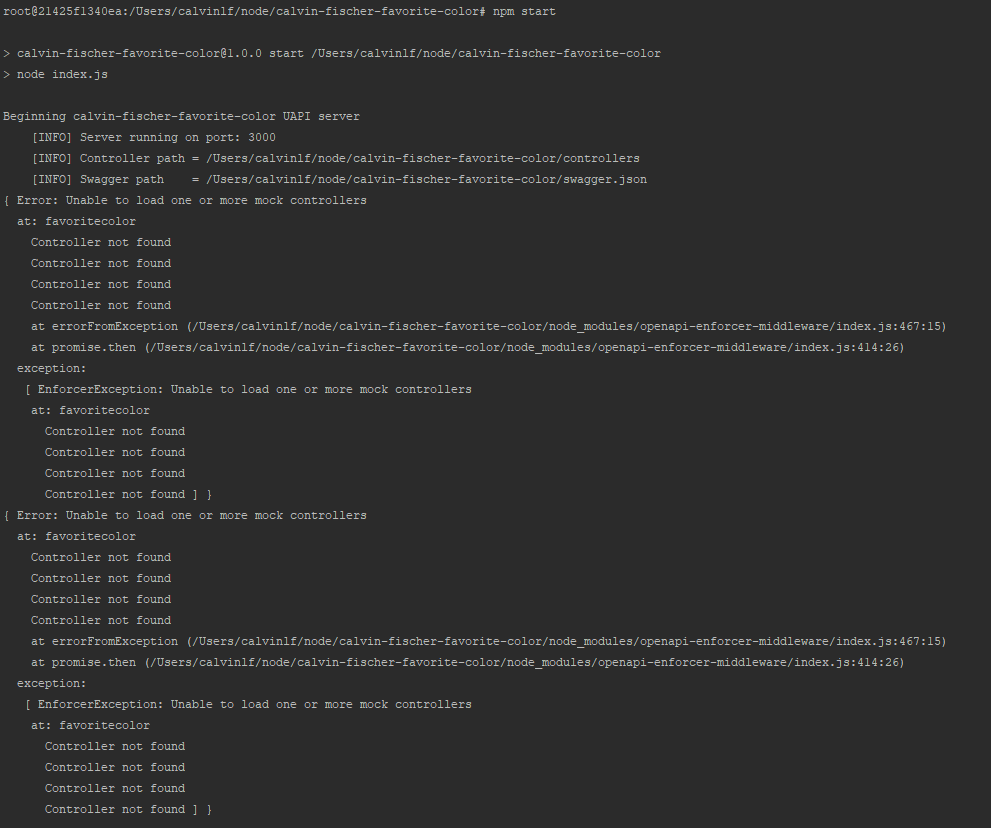
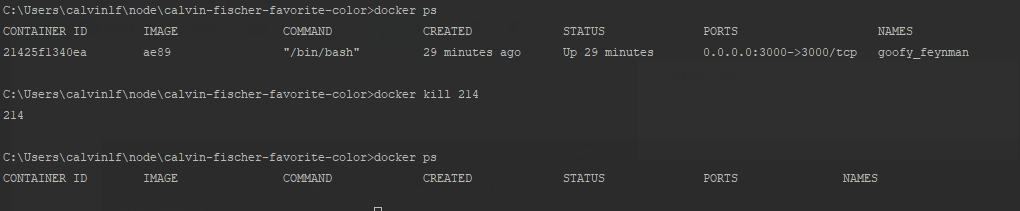
It should look just like when you run “node index” locally. Test it by making some Postman requests, everything should work just fine. Once it does, run “docker ps” in another terminal, and then use the first 3 digits of the ID to kill it using “docker kill”. Then double check to make sure it is gone.
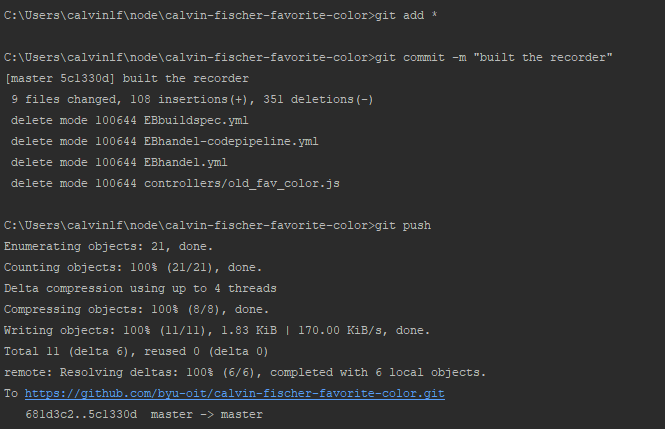
Then use “git add *”, “git commit -m “built the recorder” “, and “git push” to pipeline it to AWS.
Once it has gone through the pipeline, test it on AWS using postman calls to WSO2 and the URL.
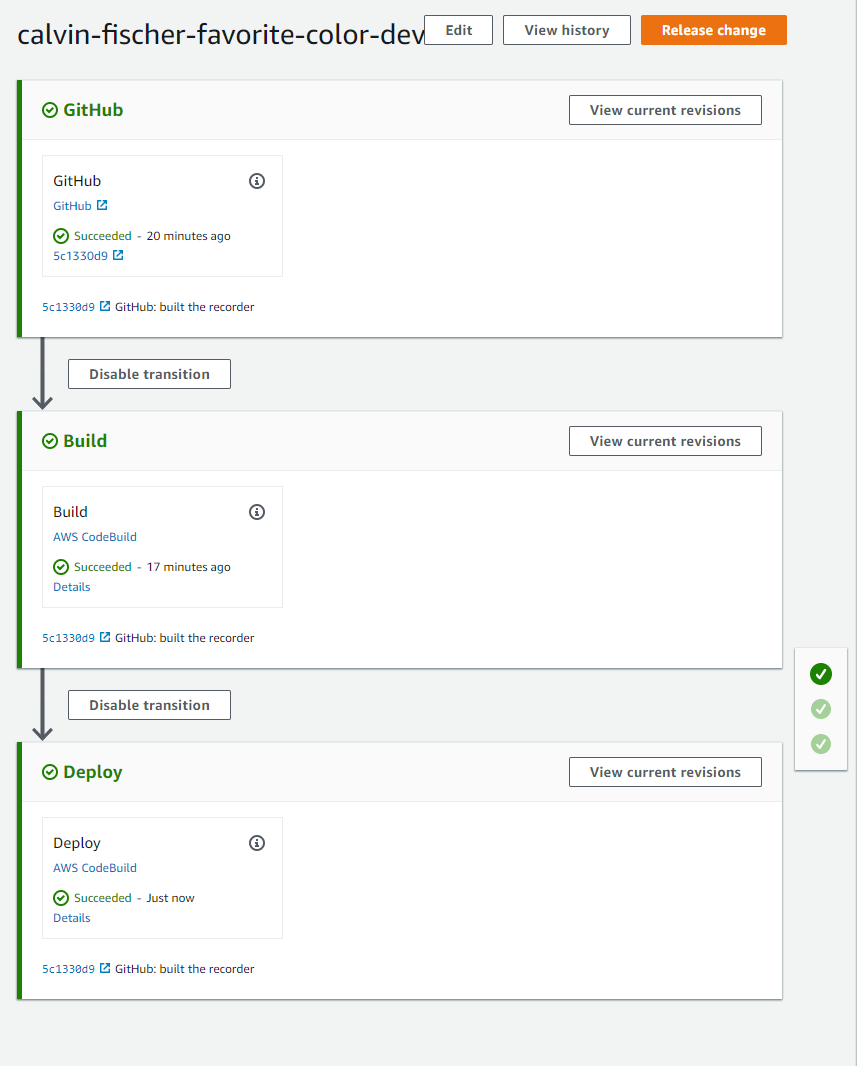
Once it works, great!! You’ve built the recorder!!